Friday, May 6, 2011

Chapter 2 - Controls

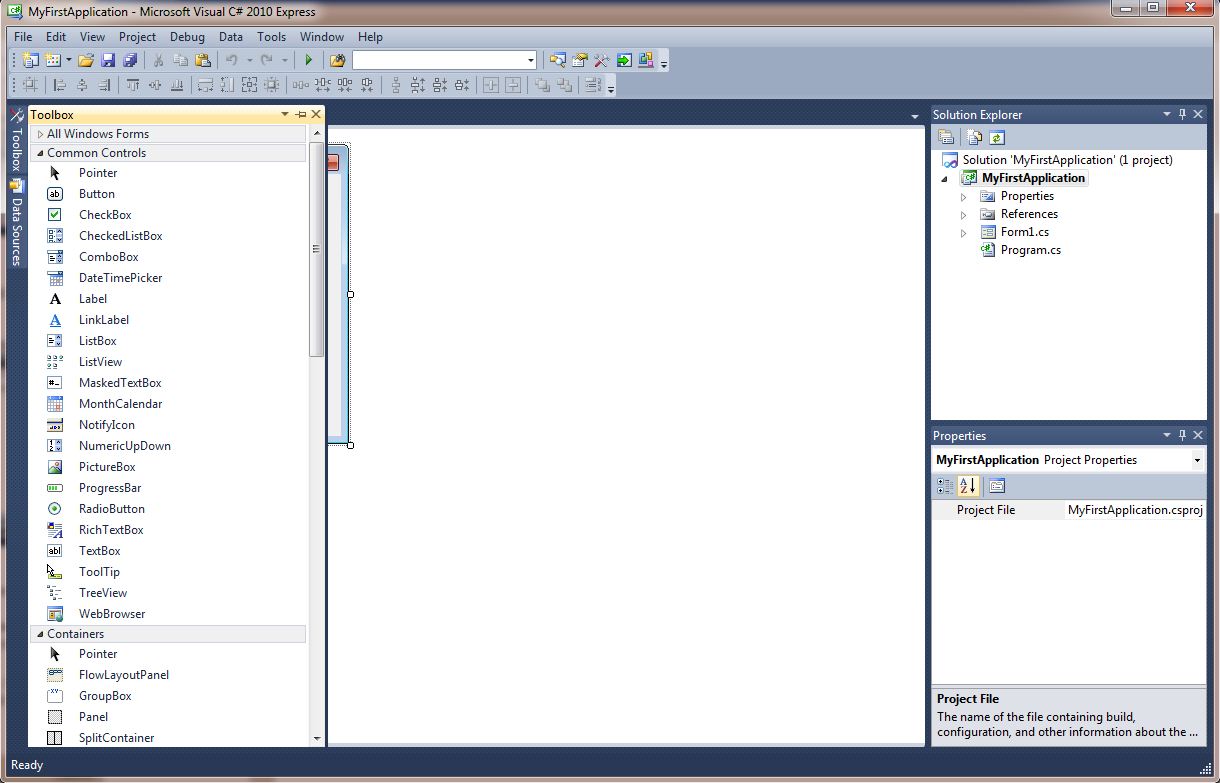
The controls in C# are useful tools that can be placed in forms to perform various tasks and we already used oen of them: the button. The picture below show the Toolbox that contains the controls of C#. They are categorized into Common Controls, Containers, Menus & Toolbars, Data, Components, Printing, Dialogs. For now, we will focus only on some of most common controls:  Button, Label, ComboBox, ListBox, PictureBox, TextBox etc.
Toolbox

To insert a control into your form, you just need to drag the control from the toolbox and drop it into the form. You can reposition and resize it as you like, and you already did this in chapter one. So lets go further and build an calculator. Since windows has a nice built-in calculator we wont reinvent the wheel, we will only make a calculator that sums 2 numbers so that you can get familiar with text-boxes and label. For this you have to drop on our form 2 text-boxes and 3 labels. You can see them marked with yellow in the picture bellow:


Drag them on the form and arrange them as you like. This is how I put mines:

As you see they are nicely arranged as I used a useful tool C# provides for this purpose. You can find the toolbar under the main menu, it looks like this:
Layout toolbar
It is called Layout toolbar and it should be available for you by default when you see the form (this is called design view). When you see the code (code view) it diapers. If not displayed by default you right-click the main toolbar and check Layout. In order to align several controls at a time you need to select them by keeping the CONTROL key pressed. Go ahead a play a while with it until you are happy with your control alignment.

Wednesday, April 20, 2011

Chapter 1 - Introduction


Many years ago I started learning Visual Basic 6.0 by reading a book - I don't have it anymore and don't remember it's title, I just remember the nice way it lead me in the process of learning. It started with a simple Hello world! application, with each new chapter adding features to it as I was learning new things. Finally I ended with a nice application and a good understanding of the basic features of Visual Basic. Now that I am writing this tutorial I intend to use the same approach that helped me, hopefully it will help you too.
So lets go started !
C# 4.0 is the latest version of C# launched by Microsoft in April 2010. It is intended to be a simple, modern, general-purpose, object-oriented programming language1 and it really is, so you made a great choice starting to learn it. You can find some nice info about the history of C# here.
C# 2010 Express Edition is available free for download from the Microsoft site. Click on this link http://www.microsoft.com/express/downloads/ to download it.
The installation is easy, just click Next, Next...and you are done in about 10-15 mins, depending on your computer speed, of course. If you have trouble installing just drop a comment bellow and I (or other visitors) may help you. You should install at least SQL Server too, as we gonna need it later in our course.


When done, launch C# 2010 Express. The IDE is shown in the picture below, the Start Page consists of a few sections::
  • The New Project/Open Project section - it should be clear it's purpose
  • The Recent Projects section that shows a list of projects you created recently. It wont be empty for long, don't worry!
  • The Get Started Pane - I personally never used it, but it may be of some help sometime, it is intended to provides helpful tips or resources.
  • The Latest News section - Latest online news about Visual C# 2010 Express. It will announce new releases and updates
  • The Solution pane (on the right)


    C# 2010 Express Edition IDE
    We are gonna create a new project so click on New Project to start implementing your first application. The following window will appear:


    New C# project

    This window offers you six types of projects that can be created. Since we are going to learn how to create windows applications, we will select Windows Forms Application.
    At the bottom of this dialog box, you can change the default project nameWindowsApplication1 to some other name you like, for exampe,MyFirstApplication. After you have renamed the project, click OK to continue.

    The following window will appear, which consists of an empty new form, the toolbox tab and the properties tab. Note that the Toolbox is not shown until you click or hover the mouse on the Toolbox tab - its on the left.

    Your first Windows Form !


    Since we need the Toolbox tab, click on it so that you can see the common controls...
    C# toolbox
     If you click the auto-hide button, the toolbox will dock on the left of the IDE. If you click it again, it will hide. For now keep it visible:
    Toolbox docked to the left of the IDE

    Now you can drag the button control into the form. In the Properties Window from the right of the IDE change  the Text property from its default Text Button1 to OK and the word OK will appear on the button in the form, as shown below:
    Your first button !
    Also change it's name to btnOK (scroll up the Properties Window to find it !).

    You should also change your form name to frmMain by clicking on Form1.cs in Solution Explorer, which is just above the Properties Window. Click yes if asked if you would like to rename all references in the project:


    Next, click on form so that it gains the focus and change it's name to My First Application, similar as you did for the button. You should notice that the form caption is now: My First Application:


    Now double-click on the OK button and the code window appears. Enter the following code:
    C# code
    Now you are ready to run your application: press F5 or click on the menu Debug/Start debugging. The form will appear:
    Run the application
    and if you click the OK button the message will be shown:


    Congratulation, you have created your first C# program.